welcome to Action Jackson
COMMERCIAL DRYWALL SERVICE IN East Hartford
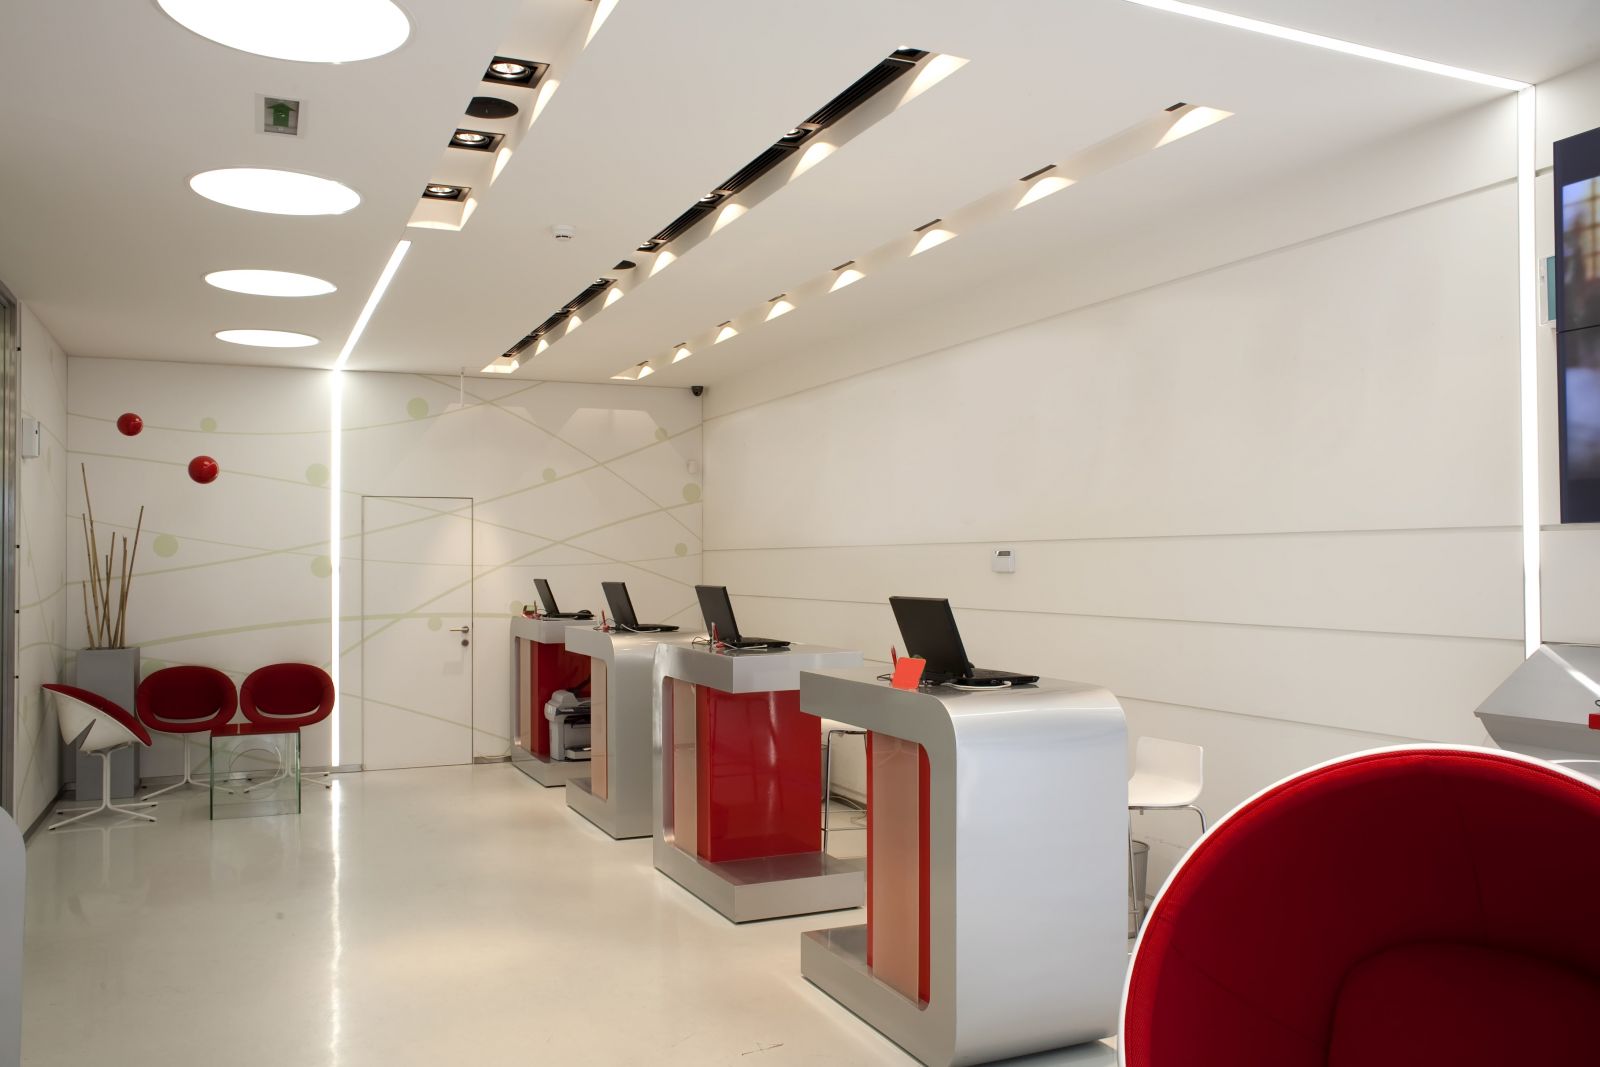
We are experts in commercial drywall including High Rise, Medical, Tenant Improvement and Industrial work. Action Jackson is a highly qualified drywall and framing company. We help our clients with pre-job scheduling, planning, material logistics and sequencing solutions.
Office drywall installation and design requires great experience and planning in order to maximize profitability and reduce unnecessary overheads. At Action Jackson we are experts in our field and remove the guesswork so you can get back to what is important.
Contact Us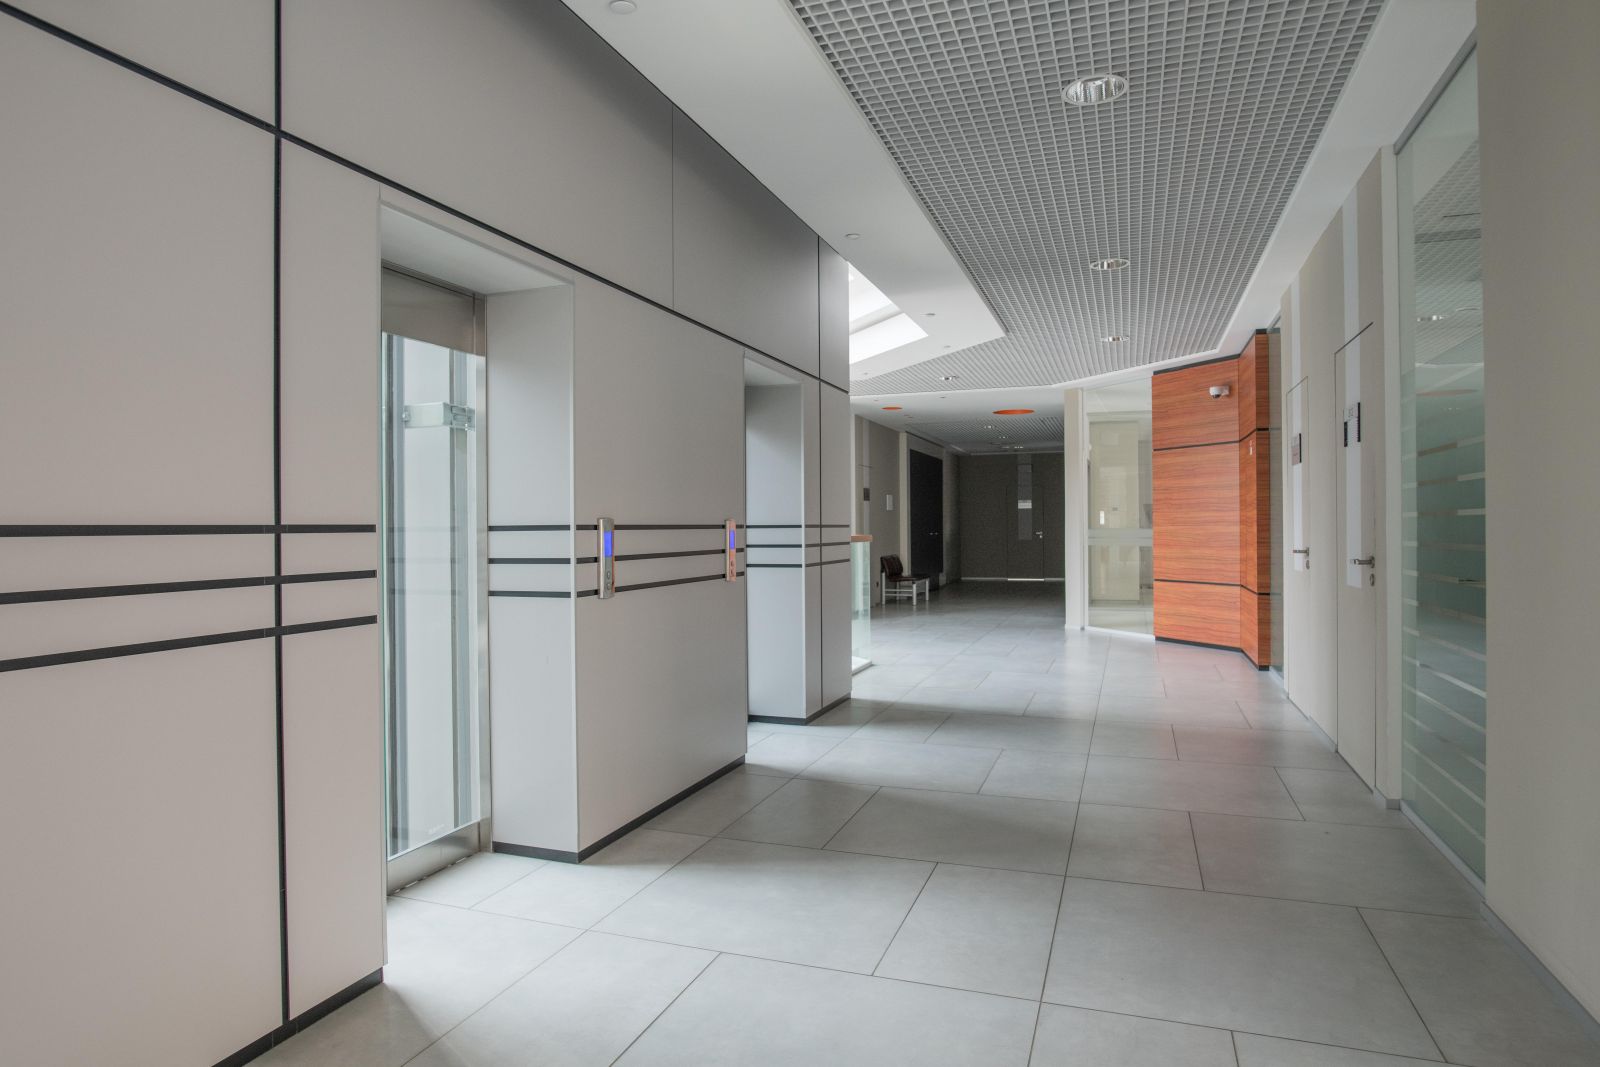
Why Choose Action Jackson
We provide a professional installation services with a real focus on customer satisfaction. Our projects are carried out by fully trained staff with the highest professional standards.
Guaranteed Satisfaction
We will work with you and adhere to your personal needs, and then we'll be in contact through the whole project.
top quality materials
At Action Jackson we use only the top quality products so your space will look beautiful for years to come.
quality & efficiency
Our ability to meet tight time constraints while still achieving high quality standards is our number one attribute.
our services
Action Jackson has been providing expert services to our clients for over 20 years. Our goal is to help you meet and exceed your project schedules and deadlines. We know your life gets easier and stress free when we keep or exceed our promises. Completion of your project schedule on time is as important to us as it is to you.
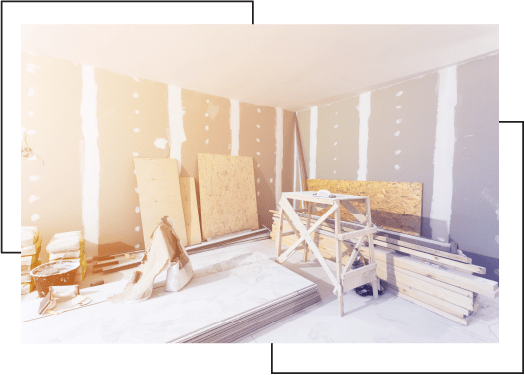
DRYWALL HANGING
Whether you are making additions to a room or a new construction, we can help. Our skilled workers will hang your drywall quickly and efficiently so you can continue on.

DRYWALL PATCHING
Drywall patching done correctly. We will patch any drywall holes and apply finish and texture to blend with your existing walls or ceiling.

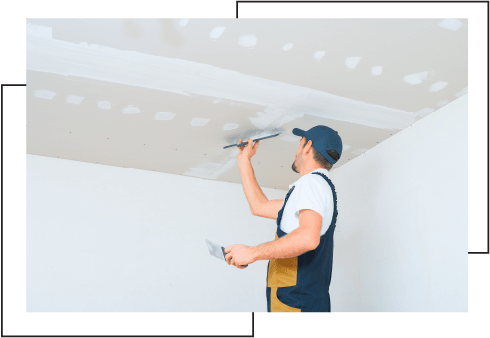
FINISHING
The hardest part of hanging drywall is the finish. From a rough, textured finish to a smooth finish, we are here to help.
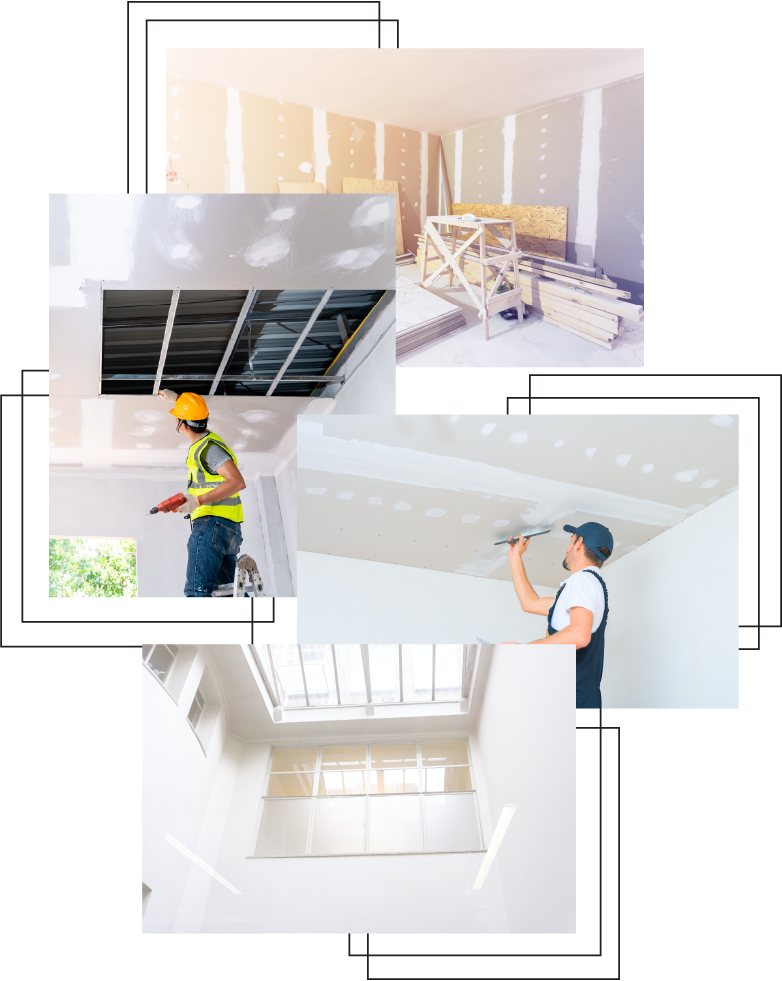
Our Typical installation process
Drywall framing is a specialized construction technique used to prepare a wall for installing drywall, or gypsum board. Because drywall sheets are manufactured to a universal size, all framing on which these boards, or sheets, will be installed must comply with specific dimensions. Otherwise, drywall sheets will all need to be custom cut to fit wall and ceiling studs, at additional cost in labor and material. To achieve framing at the most reasonable cost of material and labor

Step 1- Vertical Wall Studs
Install wall studs according to conventional standards: 16" from stud center to stud center. Plates for wall top and bottom, door and window double posts are also installed. Studs are centered 16" from the bottom plate's outside edge to ensure proper coverage and stability.
Step 2 Framing Corners
Vertical corners includes two vertical framing members with the second 2" x 4" resting on the bottom plate, as all frame studs do. Studs are installed with the flat side facing backwards. Often inexperienced workers who prefer having a wider surface into which to drive their drywall screws or nails install the flat side facing forwards. Each stud is fastened into place by toenailing the nails at the bottom and top.
Step 3 Bathrooms and Kitchens
Where water resistant drywall is used around sinks and toilets, we add extra 2"x 4" studs where seams are created horizontally between drywall sheets. Blocking of this type is be done at precisely 4' above the top of the fixture level, where the blocking center should be placed. If necessary, we use No. 12 nails. Where tiles will be attached above drywall, additional blocking is added as needed. Where horizontal drywall seams exist, drywall is blocked so that each stud center falls on the 4' mark
Step 4 24" Stud Blocking
For vertical studs spaced at 24 inches, rather than the standard 16", we add horizontal blocking to provide a secure surface into which we can sink our drywall screws. In rooms that are higher than the standard 8 feet, we add a second horizontal block, 8' and ". The extra " is to allow for the thickness of the drywall sheet.
Step 5 First Drywall Sheets Attached
We then begin attaching the drywall sheets, starting with the ceiling sheets first. By doing this, all the vertical sheets will be butted up against the ceiling sheets, whose edges will more likely be more even taping of room corners.
Step 5 Finishing and Painting
The final step we smooth out all the seams and edges, making sure each one is perfectly blended with the next so there are no unsightly gaps or cracks. Last we paint the walls to your specifications or if repairing we perfectly match the original color so there are no discolored spots.

